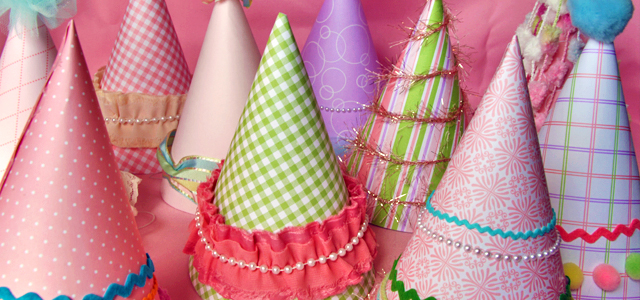
“Spring is nature’s way of saying, Let’s party!”
~ Robin Williams
Looking for craft ideas for spring? Look no further! And what says a party like party hats? Their coordinated whimsy invites children of all ages to celebrate!
When I decided that hats were a must for this year’s spring fling, I set out to buy them and quickly realized not only that the traditional cone hats were somewhat harder to find than they used to be, but also that non-branded and indeed seasonally-themed hats of any kind were virtually nonexistent. No worries, I thought… I will make them myself. And that’s just what I did. :)
Below are instructions, a template, and the details of my specific selections. Enjoy!
~
DIY Party Hats
Materials:
- 8.5 X 11 sheets of card stock or scrapbook paper (one sheet per hat), designs and colors of your choice
- scissors
- glue gun
- transparent tape
- spool of elastic cord (each hat requires a 14-inch strip)
- embellishments of your choice
Instructions:
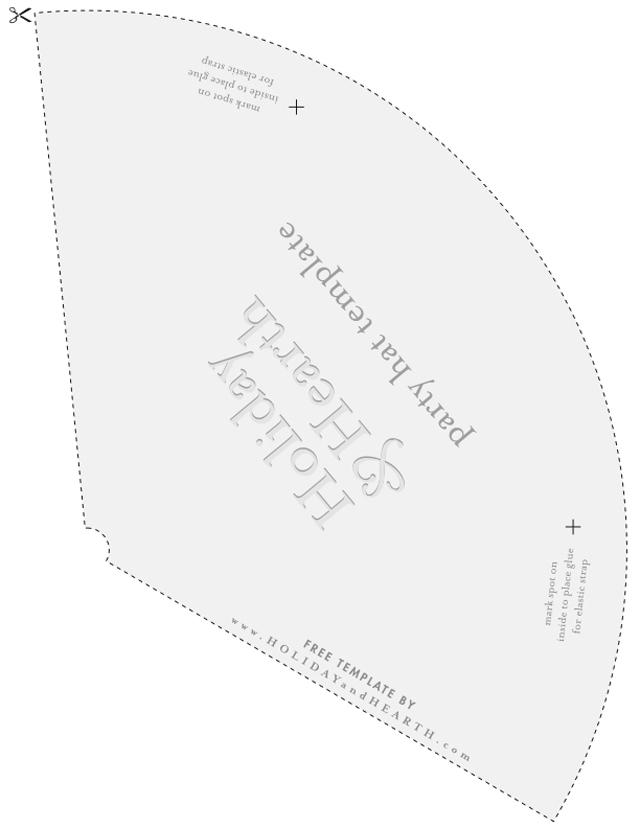
- Click on image below to access free template.
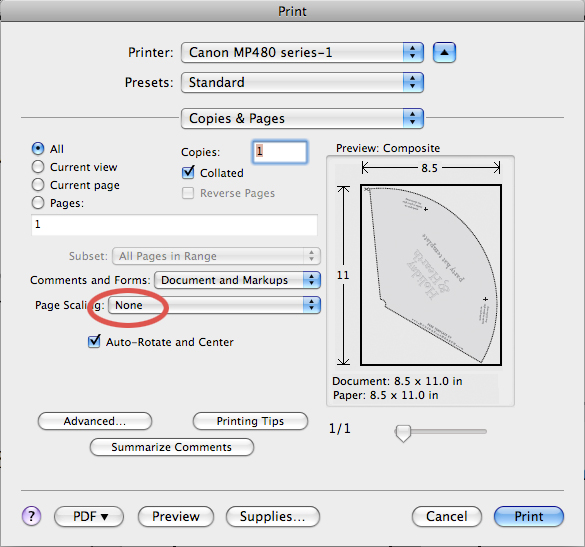
- Print template for tracing or simply print right onto the back side of the paper of your choice. As always, to ensure dimensional accuracy when printing templates, be sure to adjust your printer “Page Scaling” setting to “None”.
- Using scissors, carefully cut shape.
- Roll shape into cone. Be sure top and bottom join. Ideally top will “almost but not quite entirely” close. Allow slight overlap along seam.
- Temporarily secure paper in place on the inside with transparent tape.
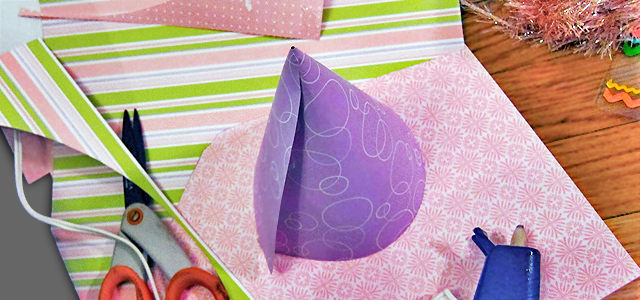
- Gently glue seam with glue gun. **Be very careful to avoid burns during this step, especially if children are helping. Very little glue will do the trick. (A little goes a long way.) And hot glue is very hot indeed. I found it helpful to secure the top in place before gluing the remainder. This ensured that my alignment remained accurate and allowed me to take my time with the hot glue. (See pic. below.)
- Remove tape if desired.
- Cut a 14-inch strip of elastic cord, and with a dab of hot glue, secure each end of the elastic to one of the “+” signs on the template.
- Embellish using any accents of your choice. This is a great opportunity to repurpose left-overs from other projects. I dug into my craft scraps and found rick rack, lace, pom poms, yarn, just to name a few! Let your imagination soar!
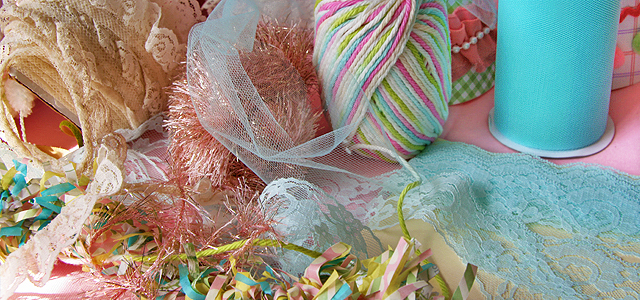
And… voila! What fun!! Craft ideas for spring? Indeed!
Click here to check out the spring tablescape I created, which featured these hats!!
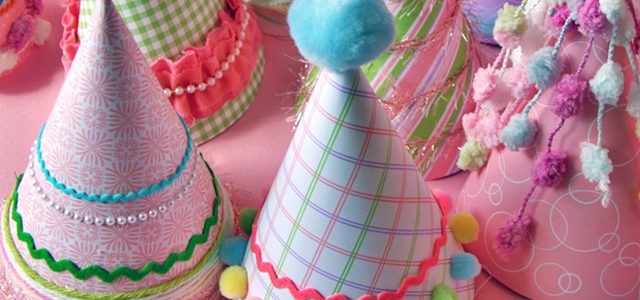
“It’s spring fever. That is what the name of it is. And when you’ve got it, you want – oh, you don’t quite know what it is you do want, but it just fairly makes your heart ache, you want it so!” ~Mark Twain
~
Happy crafting, and happy spring!

Marvelous, what a webpage it is! This webpage provides useful facts to us, keep
it up.