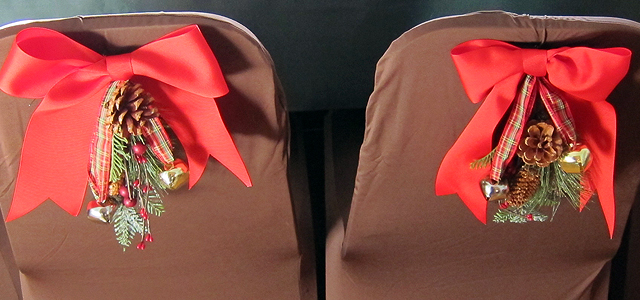
I love chair treatments. Because they are relatively simple to craft, they provide a fantastic opportunity to personalize yet another aspect of the chosen decor. For this particular holiday, I decided to integrate plaid, bells, and grosgrain bows into evergreen sprays to create traditional yet delightfully playful festive accents.
~~~~~~~~~~~~~~~~~~~~~~~~~~~
Materials:
- spool of 3-inch red, grosgrain ribbon
- scissors
- Dritz Fray Check
- segment of 7/8-inch red, grosgrain ribbon
- needle and red thread (or safety pins)
- Evergreen sprays with real pine cones (one per chair)
- decorative buttons (one per chair)
- plaid ribbon
- wire cutters
- green wire
- safety pins (one per chair)
- jingle bells (one silver and one gold per chair)
~~~~~~~~~~~~~~~~~~~~~~~~~~~
Instructions:
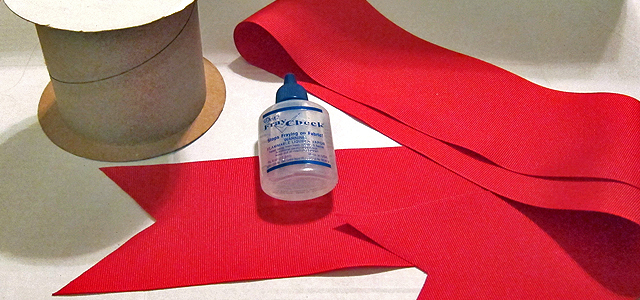
1. Precutting and pretreating bow ribbon: Using a 10-yard spool of 3-in, red, grosgrain ribbon, cut ten 1-yd segments (can be adjusted based on number of chair treatments desired). Ends may be dressed up with fancy cuts like the inverted point pictured below. Treat finished cuts to avoid fraying. I used Dritz Fray Check. Be sure to let ribbon dry completely before proceeding to next step.
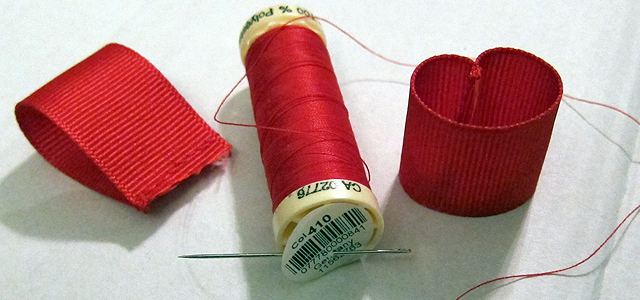
2. Creating bow centers (optional): You may choose to tie bows. Ribbon stretches further, however, by allowing its full length to drape. This may be accomplished by creating faux bow centers. Once assembled, these prove to be quite sturdy and look completely natural. Using small segments of 1-inch wide red grosgrain ribbon, simply create loops. I stitched mine inside-out and then flipped them around to hide the seam, but safety pins would also be fine.
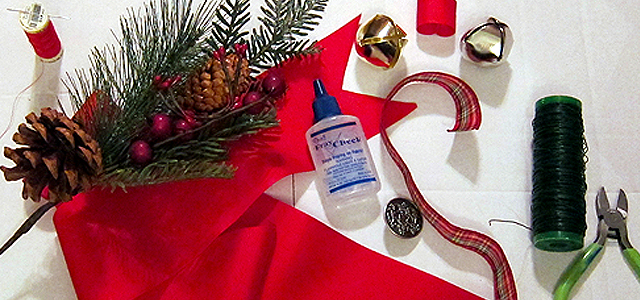
3. Laying out materials: This step minimizes frustration during the crafting process. Each time an item is needed it is right there!
4. Laying out the ribbon: Place the ribbon on a flat surface in the desired shape. Be careful to consider both the desired size of the bow loops and the preferred length of the hanging ribbon.
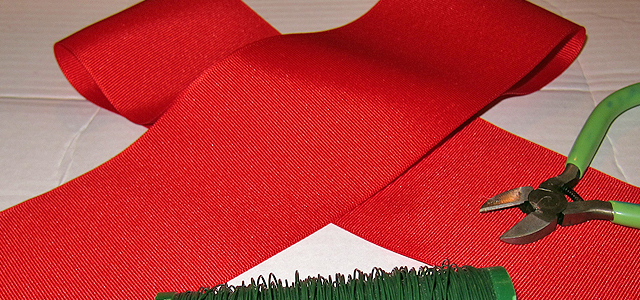
5. Wiring the bow in place: Simply twist a length of green wire around the center of the two loops. Leave ample excess wire for future steps. It can always be trimmed and/or tucked later.
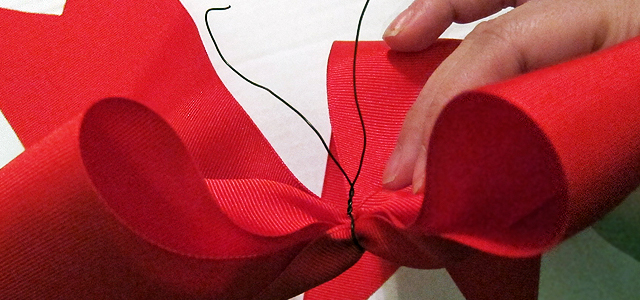
6. Slipping on the pre-made bow center (from step 2): Push one ribbon end as well as one loop (may need to be rolled a bit) through the bow center, and slide it toward the wire until covered.
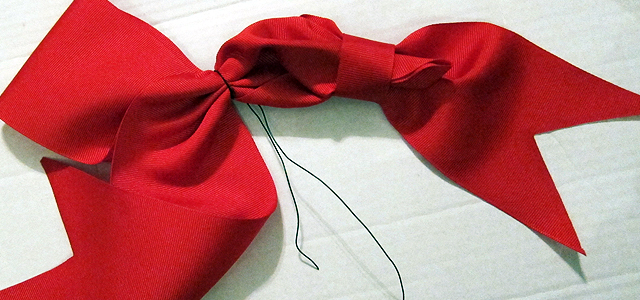
7. Positioning the bow center: Pull one end of the wire through the bow center, so that one length of wire is emerging from each side. Also, take a moment to position the bow center with the seam in the back.
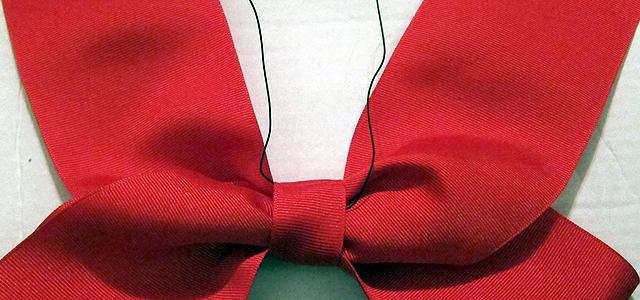
8: Threading the jingle bells: Using a length of plaid ribbon, slide one bell on the left and the other on the right. Take note of which side is gold vs. silver if consistency from chair to chair is important to you. If desired, maneuver one to be closer to the edge than the other to allow for uneven hanging.
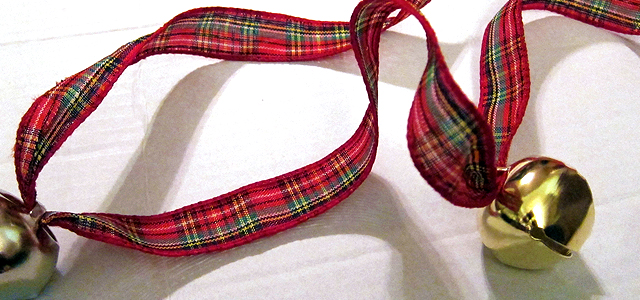
9. Wiring the bells: Cross the two ends of ribbon over each other creating a formation. Pinch the ribbon together where the two ends overlap and meet the length of ribbon between the two bells as well (three layers all together). At this spot wire the ribbon to the back of the bow.
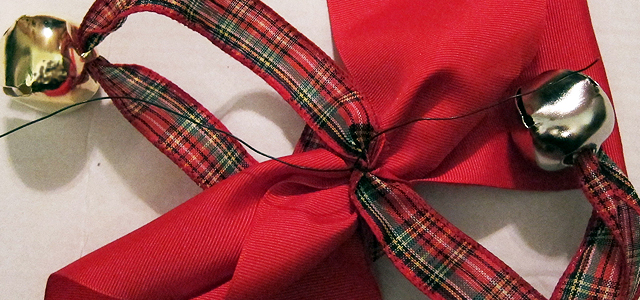
10. Adjusting the length of the bells: If you are dissatisfied with the length of one or both of the bells, feel free to gather some ribbon and wire it into a small loop to allow for fine-tuning. It will not be visible.
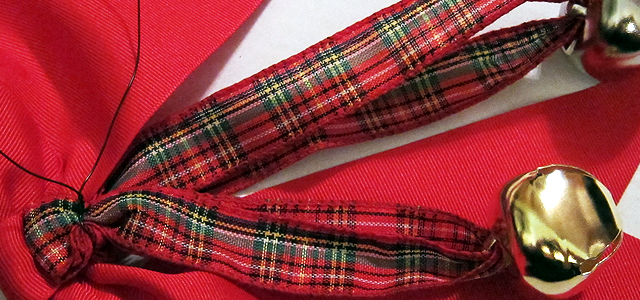
11. Preparing the evergreen spray: Bend the support stem behind the spray. Feel free to adjust berries, cones, or whatever in order to create the desired effect.
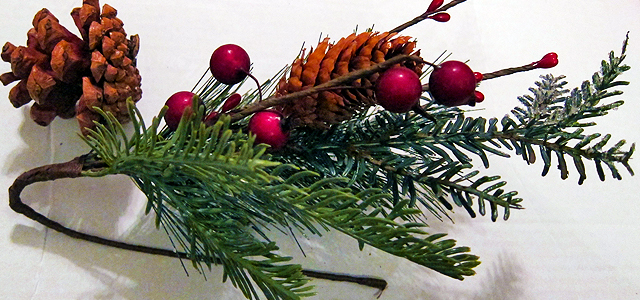
12. Combining the spray and the ribbons: Wire the bow with the bells to the edge of the spray. The stem curved behind will allow for attachment to the chair.
13. Putting it all together: Using a decorative button on the sitting side of the chair and a safety pin on the reverse, simply pin the button to the cover through the space in the chair. This creates a secure loop to attach the chair treatment to. Slide the stem through the middle of the safety pin, and voila!
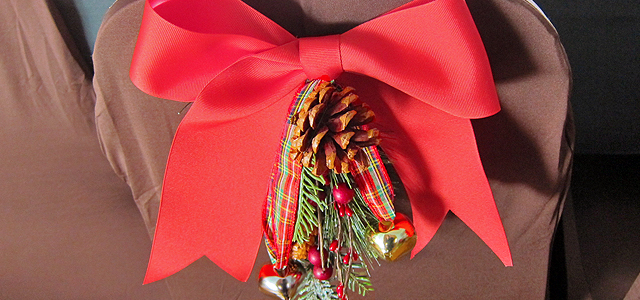
Enjoy your festive chair treatments & Happy Happy Everything!!